last minute nokori cowl

last minute nokori cowl

As a knitter, I love giving handmade gifts; there’s always something incredibly satisfying about making something for someone you love. The downfall of knitted gifts, however, lies in the simple fact that there never seems to be enough time! Christmas is the worst, as we all know, but other occasions like births and birthdays also have a way of sneaking up on you. Sometimes there is a need for quick knits, and that’s what this post is all about!

last minute nokori cowl      last minute nokori cowl

For these pieces, I made some time saving modifications to my nokori cowl. Instead of changing the texture throughout the piece, I stuck with garter stitch all the way. This cut down on knitting time, but I think the cowls still retain the uniqueness of the original design.

To make you own, all you need to do is follow the original pattern, but knit everything in garter with a slip stitch edge!

last minute nokori cowl

noro scarf

noro scarf-1

Since I live in Japan and all, I decided that I should finally take advantage of having tons of beautiful Noro yarn at my fingertips. And, when looking for something to knit with Noro, the obvious choice is the perennially popular Noro scarf.

noro scarf-2     noro scarf-3

As far as knitting goes, this thing is classic. The combination of a simple pattern and professional-looking results means that this project is insanely popular (Jared Flood’s Brooklyn Tweed version has 12,053 projects listed on Ravelry!) and has been re-imagined in various ways. The best thing about a Noro scarf, however, is that it can appeal to knitters of all levels; while the pattern is completely accessible to beginners, Noro’s wonderful colours are enough to keep even the most experienced knitters entertained!

The only downside to Noro is that is can be a bit pricey; so, for my scarf I choose to knit alternating stripes in Noro’s Yuzen (56% silk, 34% silk, and 10% kid mohair, colour number 16) and a solid light grey merino. Not only did this save me a few yen, but I think the end result looks pretty good!  I wanted a long scarf, so I ended up using two full skeins of the Noro and two and a half of the grey stuff.

If you want to make your own version, I would simply use Brooklyn Tweed’s pattern as a reference and then customize it to suit your needs. For example, I wanted my scarf a bit wider and longer, so I cast on a few extra stitches and knit until I reached my desired length.

Happy knitting!

brooklyn tweed’s porom

brooklyn tweed porom

It’s far overdue, but welcome to my first post of 2013! Since I last wrote, I’ve been knitting my little fingers off; however, a long vacation and the true onset of winter have gotten in the way of photographing (it’s friggen cold outside!) and blogging (January & February make me lazy) all of my latest projects. I’ve got lots of neat stuff I want to share, so I hope to start posting more regularly again.

Anyway, to kick off the new year I’d like to introduce my version* of Brooklyn Tweed’s Porom.

brooklyn tweed porom     brooklyn tweed porom

*I say “my version” because I messed up. A lot.

I whipped up this hat back in November, and I did it in a bit of a rush. I was about one week away from my yearly momijigari expedition to Kyoto, and I wanted a new hat. I still had a few skeins of this yellow yarn that my friend had bought in Korea, and after scouring the internet for patterns I finally settled on Porom.

The pattern itself only requires about 180 yards of DK weight yarn and is fairly straightforward, but I was kind of sloppy. On my second night of knitting I noticed that my stitches were no longer matching up with the lace chart. Usually I would go back and fix everything, but since I was working with a deadline and the hat wasn’t going to be gifted, I chose to carry on instead. Luckily the yarn I was using hid a lot of the flaws (I definitely wouldn’t have gotten away with it had I been using something with more stitch definition), and the final product ended up being good enough to sport during my weekend away.

I’ve been an admirer of Brooklyn Tweed’s patterns since I started knitting two years ago, but this was the first time that I actually made the plunge and bought one. I’ll definitely be buying from them again, and I’ve already got my eye on a few patterns from their new Winter 2013 look book!

super practical neck warmer & i-cord headband

neckwarmer

It started snowing!!! Noooooo….

When I lived in Canada, this was never something I minded; in fact, I often looked forward to the year’s first snowfall. Perhaps it was due to remnant childhood dreams of white Christmases, or maybe it was just because I liked going for nighttime walks and watching those big fluffy flakes fall in the light of streetlamps, but it was never something I dreaded or feared. Japan, however, has ruined that for me.

I usually ride my bike to work, but from December to early March, my pleasant ride through green rice fields is transformed into a perilous, icy trek through a frozen nightmare. The sidewalks are never plowed, something cold and horrible is almost always falling from the sky, and wind is relentless. So, in anticipation of the cold I will very shortly feel, I decided to make something super practical to protect my face and neck.

For valentine’s day last year some lovely ladies sent me two luscious skeins of Blue Sky Alpacas bulky yarn in claret (colour 1215). I’d been saving it for something special, and this little project was perfect! Because it’s 50% alpaca, 50% wool, and nice and bulky,  this wonderfully soft yarn knits up nice and quick. It only took me two evenings to make the neck warmer and the headband!

                                neckwarmer-2     neckwarmer-3

~ The Pattern: Neck Warmer ~

Because I wanted it to stand up straight so that I could nestle my face into it, the gauge is pretty tight at 3 stitches per inch.

Using a 60 cm circular needle, CO 60 stitches, place stitch marker, and join for knitting in the round.

Knit in fluted fabric stitch for 15cm. If you’ve never attempted this stitch before, there are tons of tutorials online to help you out! Purl bee’s is especially helpful for knitting this stitch in the round. Note, when knitted in the round, this stitch is knit inside out!

Bind off in pattern and you’re done!

~ The Pattern: Headband ~

To make this pattern, simply knit an i-cord until it fits around your head and then tie the ends together! To find out how to make an i-cord, check out this video.

nokori cowl

Like many knitters, my stash of yarn is out of hand. I’ve got little bits of leftover yarn from old projects laying around. There are random skeins – most of which were given to me by expat knitters who returned to their home countries – tucked away in drawers. Yet, despite all this, I keep buying more! So, for this project, I decided that I wasn’t allowed to purchase any new skeins. Nope, this time I would have to use up some of my stash. Thus, the Nokori Cowl was born.


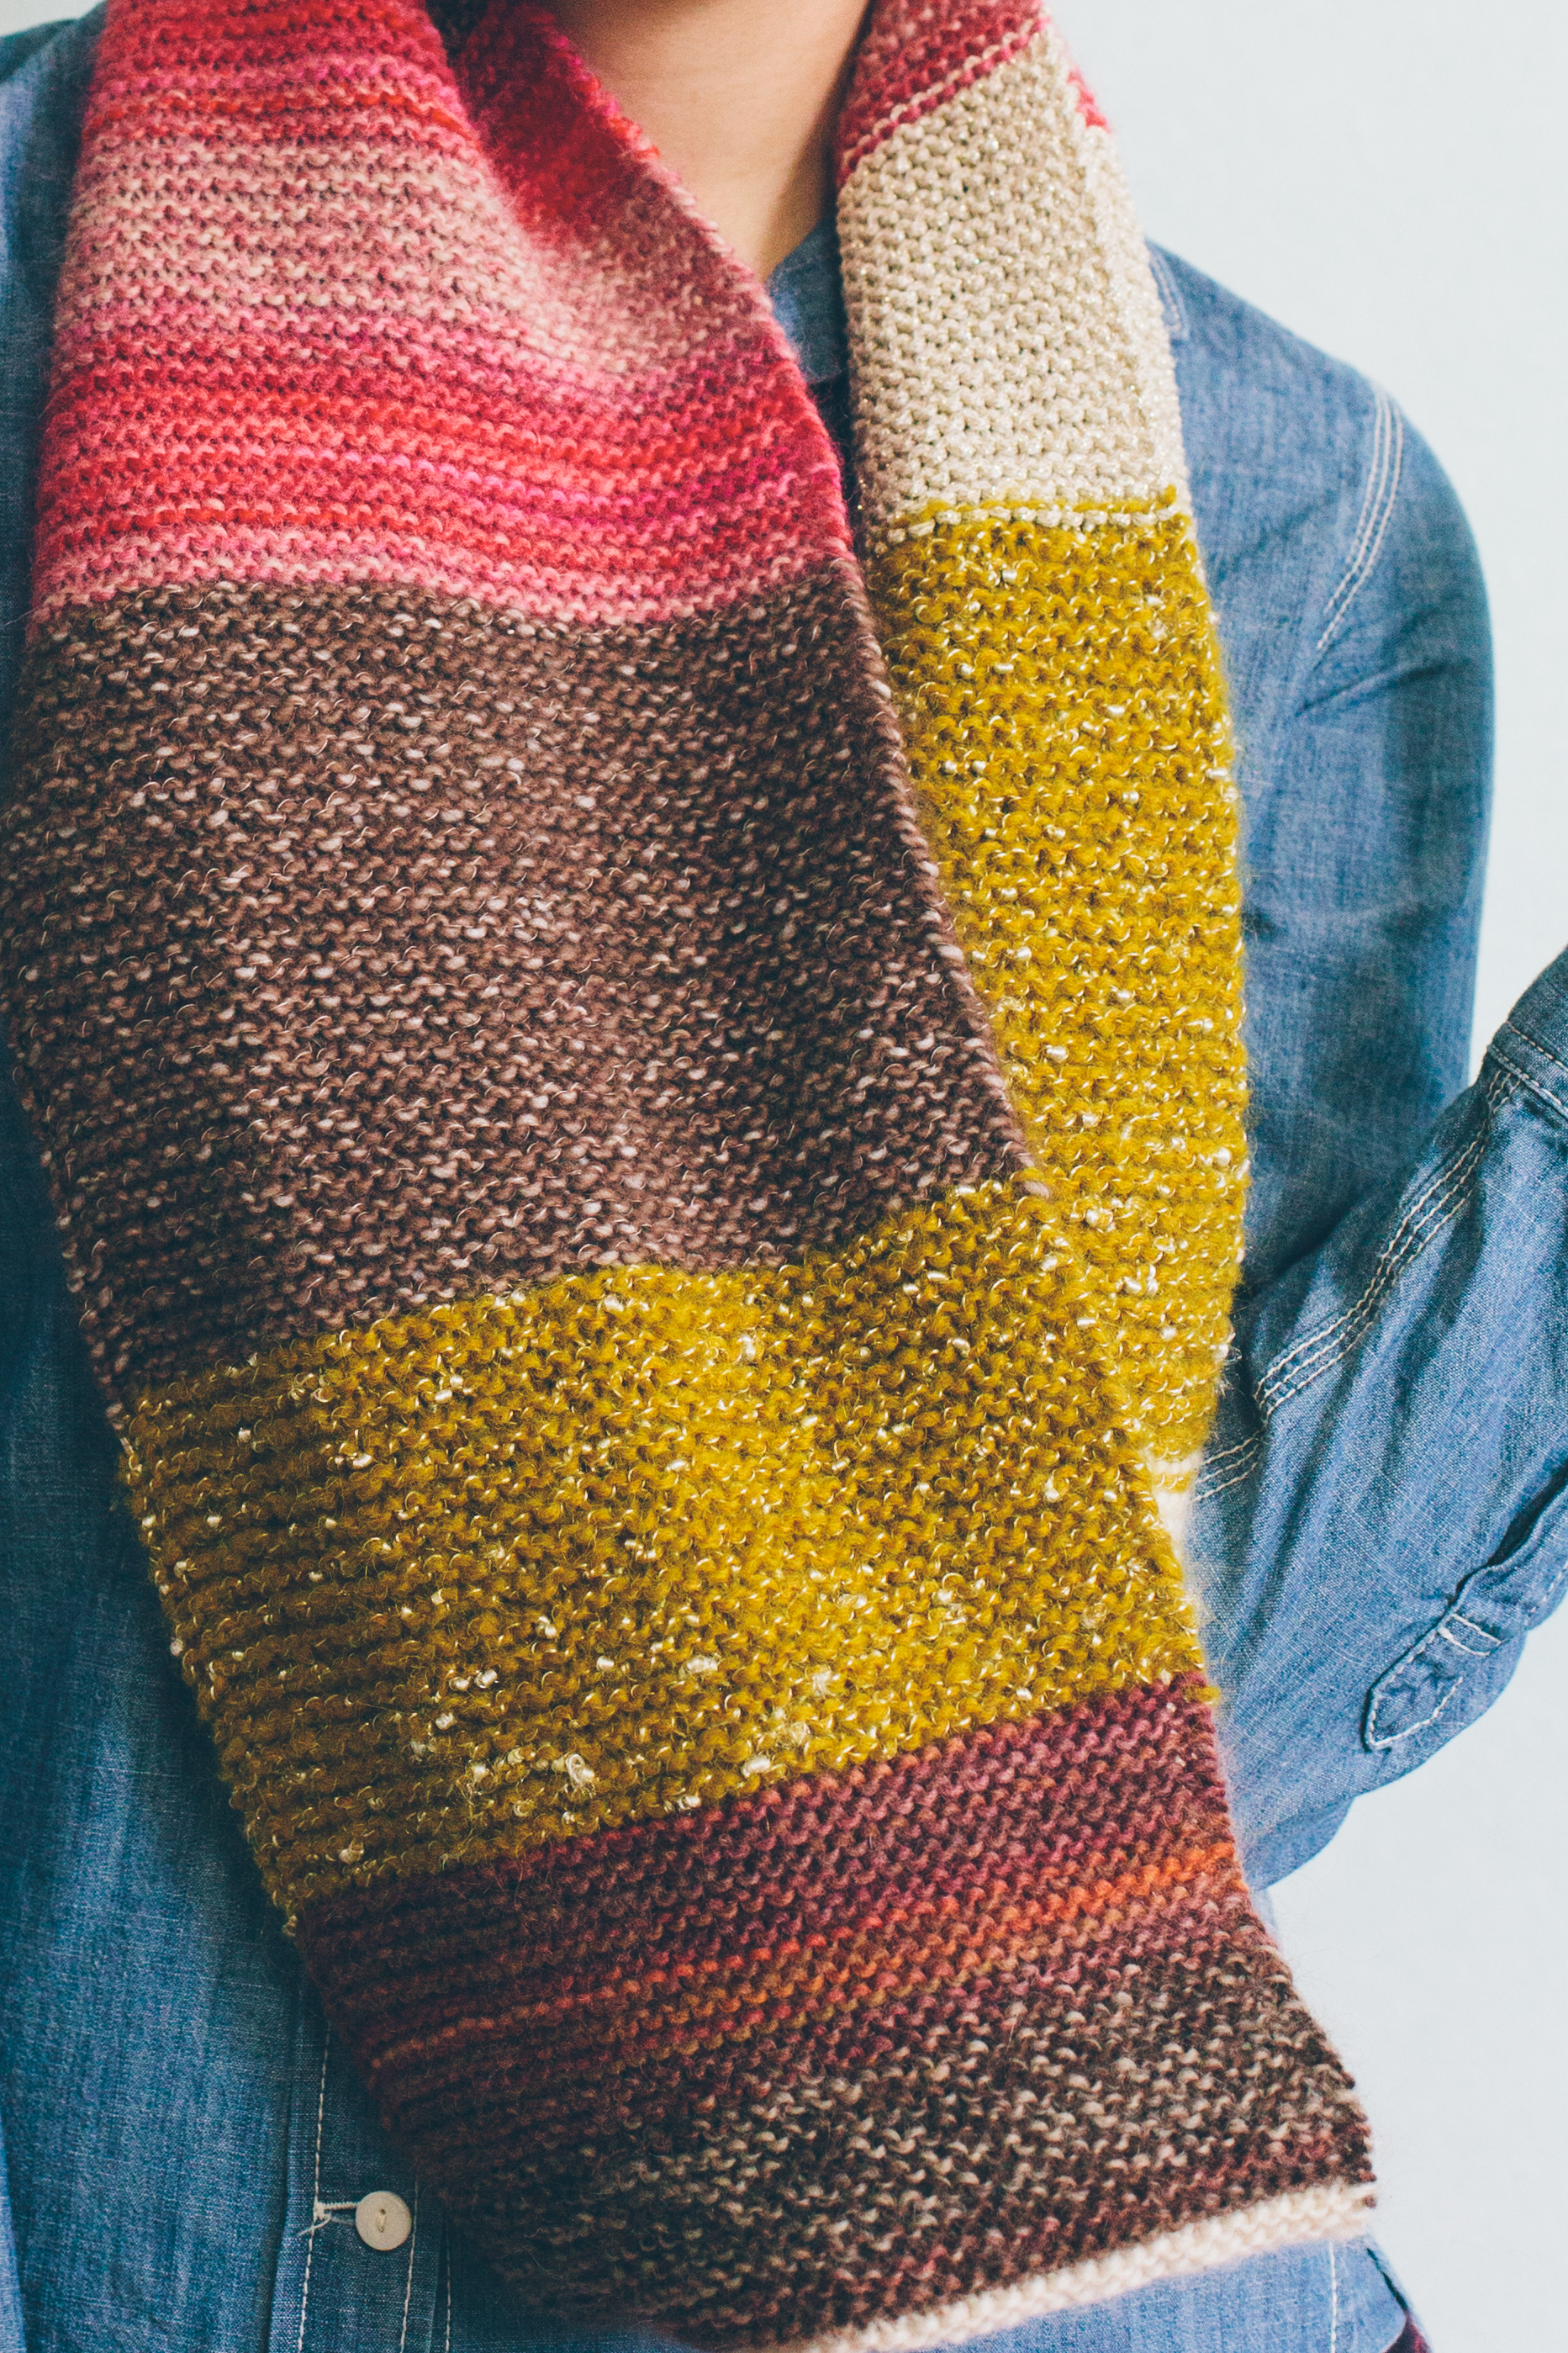
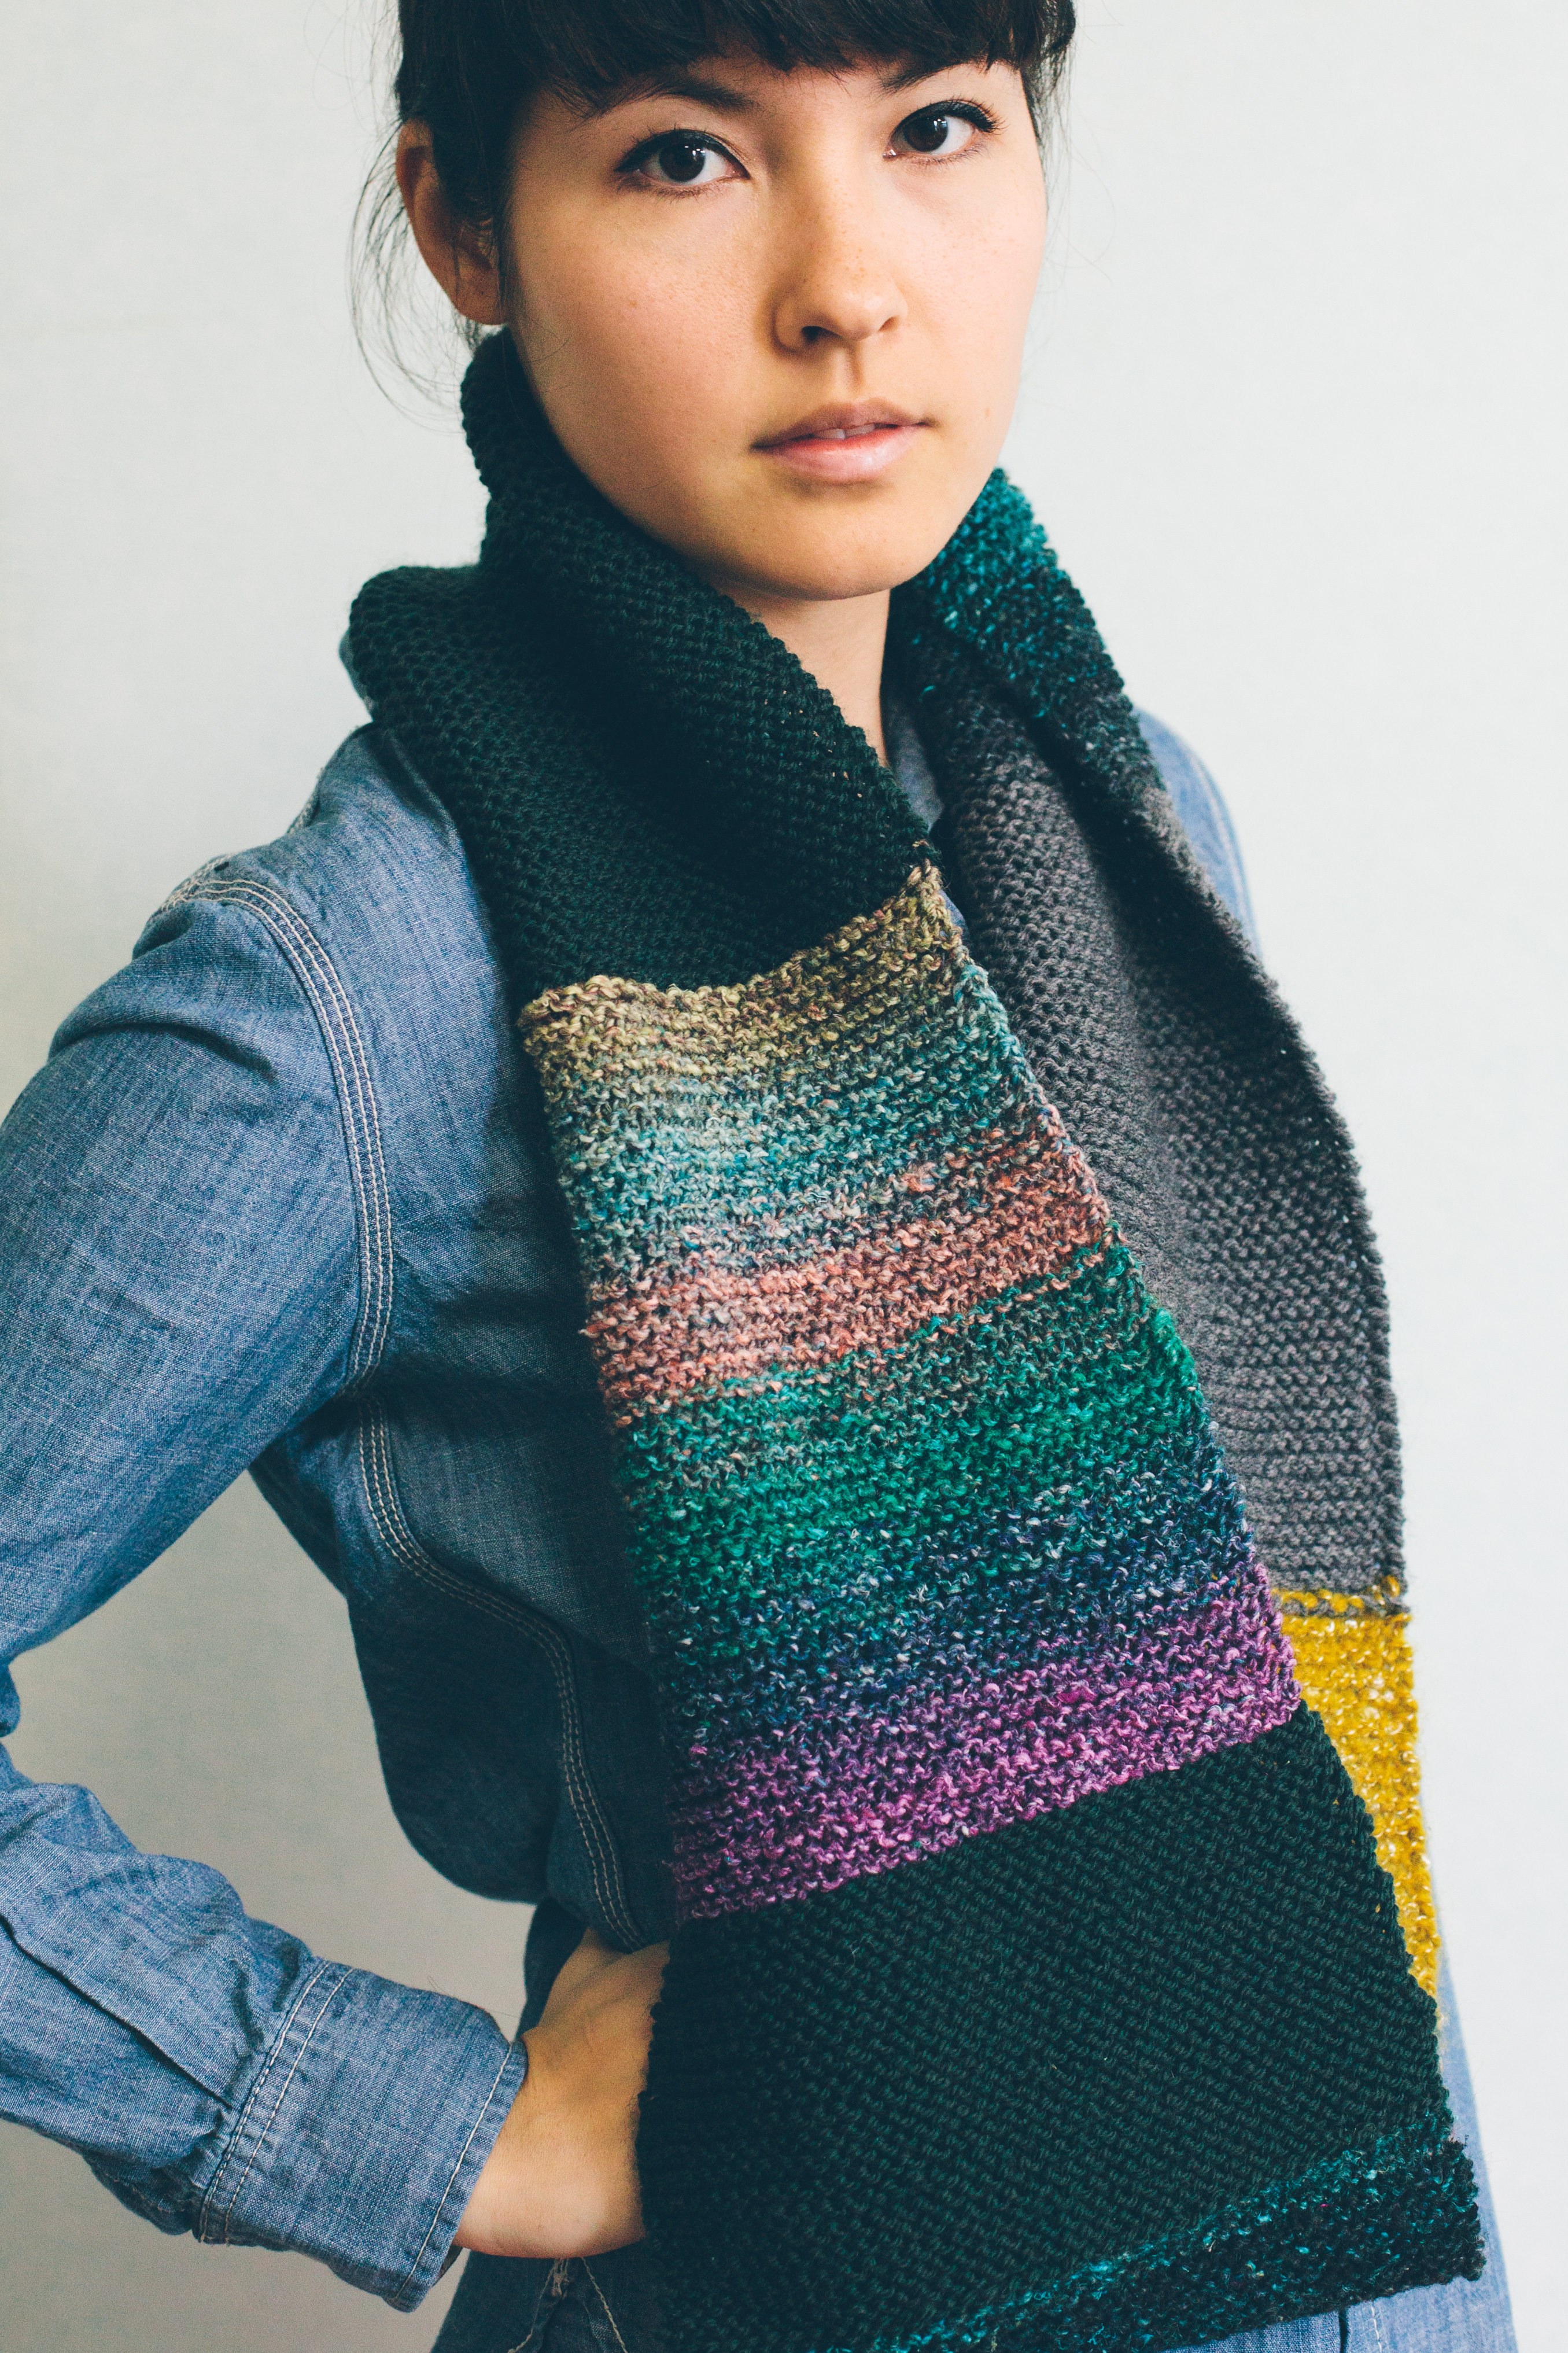
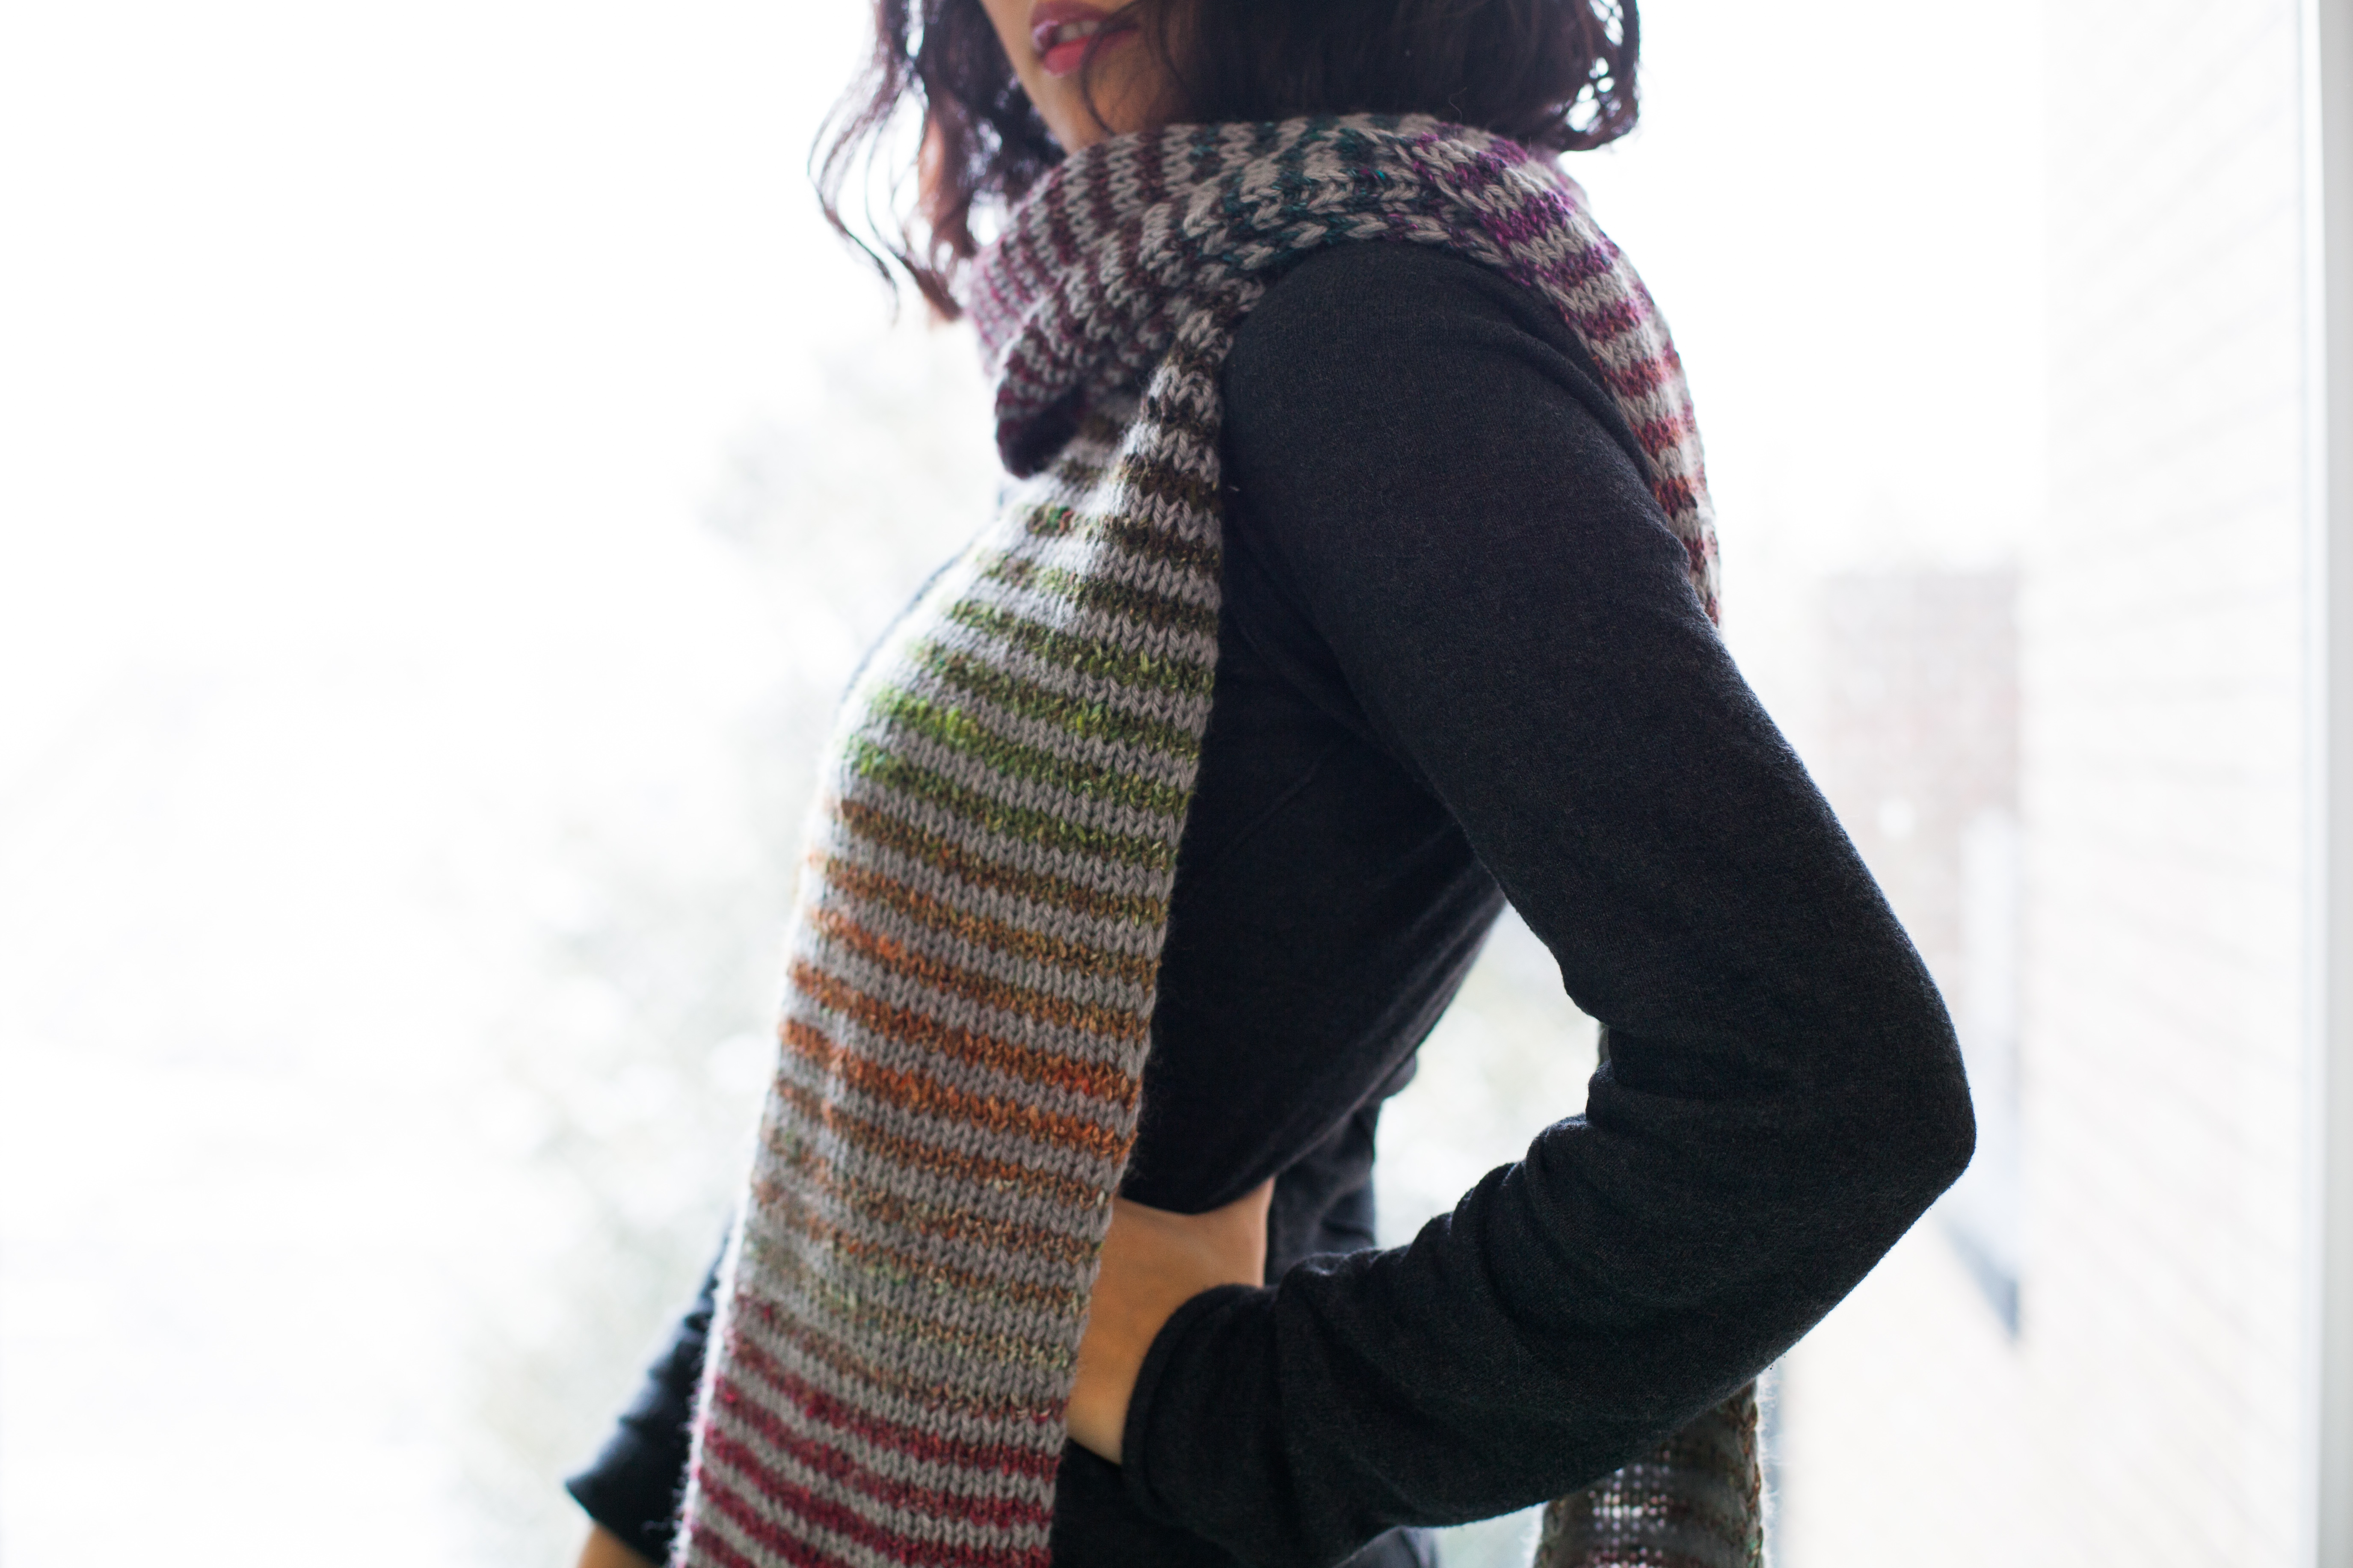
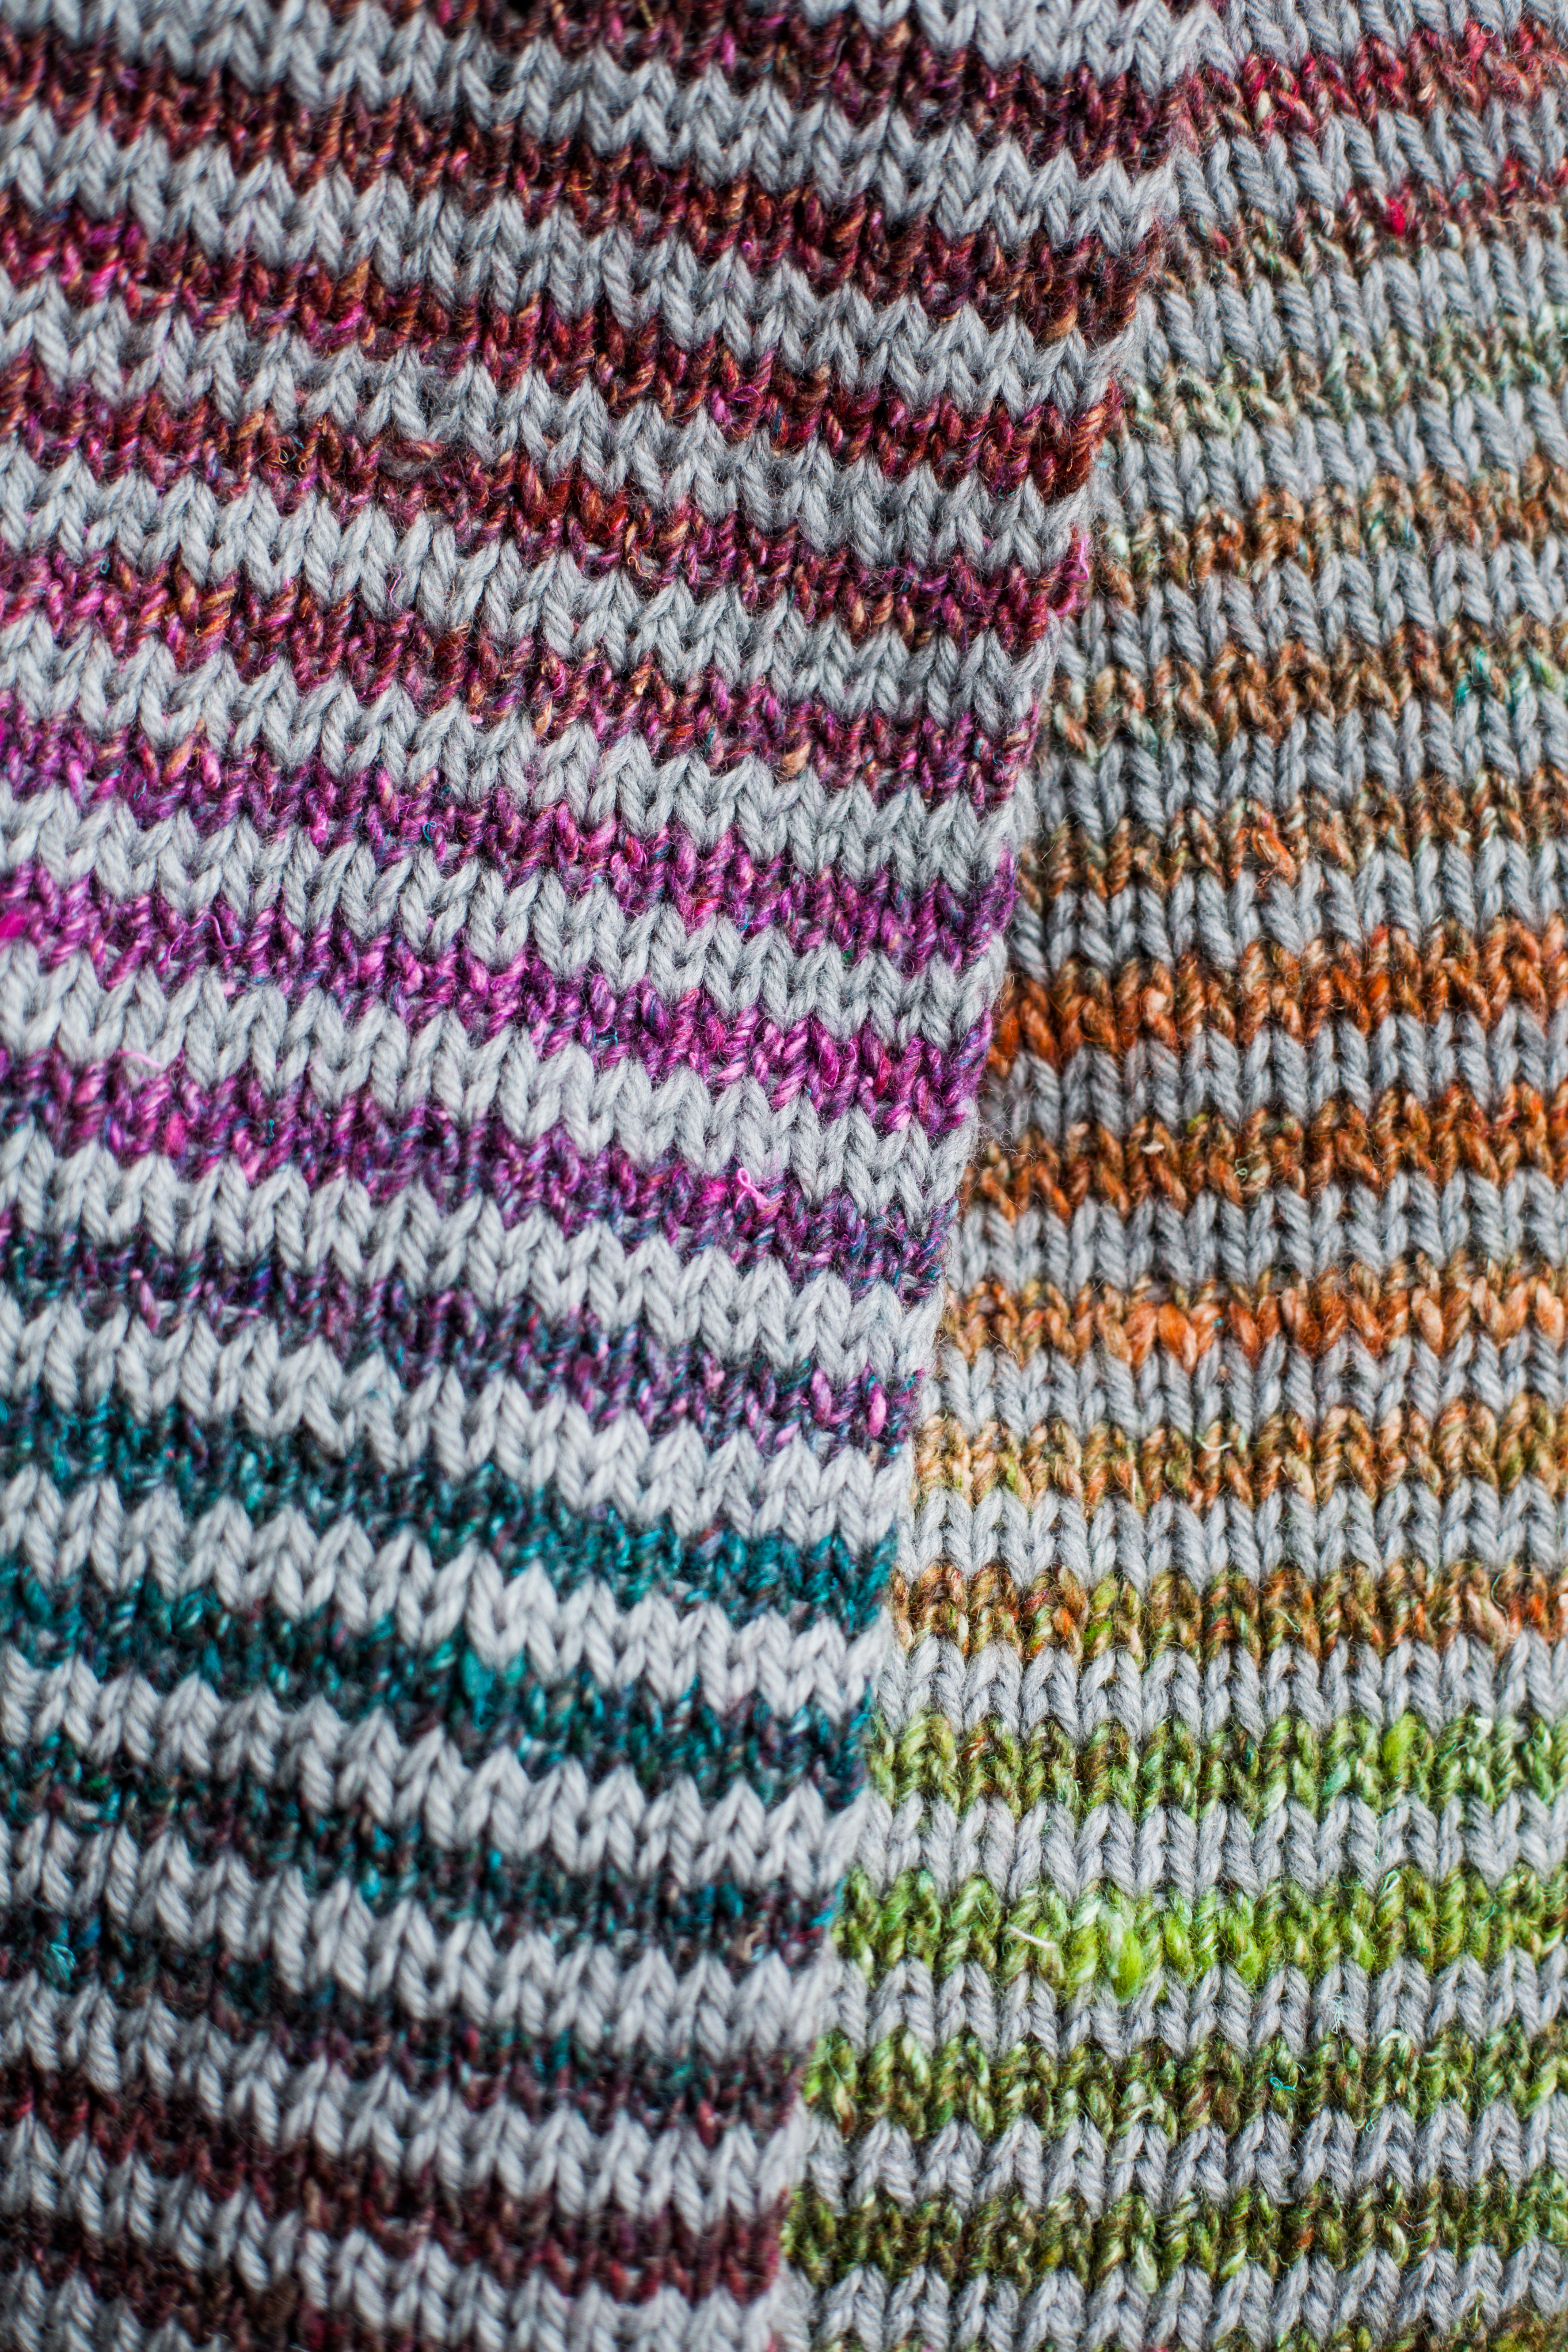
“Nokori” is a Japanese word meaning remnant, remaining, or left-over. This project was inspired by a photo of a multi-coloured cowl I came across in a magazine once, and it was made entirely with left-over yarn. Because of the various colours and textures, this cowl really shines when it’s wrapped double around your neck. When worn like this the colour changes seems to come out of nowhere, making for a super unique accessory.

This is also the first original pattern I’m posting here – I hope you like it! I’m entirely new to writing patterns, so if anything is unclear or you have any comments or suggestions, please let me know!

~ THE PATTERN ~

Go through your stash of leftover yarn and choose some colours that you think work well together. I chose 5 for my cowl, but feel free to experiment! Also, because the length of each section could be restricted by how much yarn you have in each colour, feel free to play around with that as well. Just make sure that the final length of your cowl is about 120cm. For my cowl, the best gauge for all my yarn was 5 stitches per inch (2.54cm) in stockinette; however, if you’re using yarn that varies greatly in weight, you might find a that a different gauge suits your project better. Once again, because this project is meant to be made with leftover yarn, you’ll need to do some experimenting!

Using a provisional cast-on, CO 40 stitches of your first colour.

Row 1 (right side): (k, p) three times, knit to the last six stitches, (p, k) three times.

Row 2 (wrong side): (p, k) three times, purl to the last six stitches, (k, p) three times.

Continue to work these two rows (will end up being stockinette with 1×1 ribbing on the edges) until the work measures about 40cm, ending on Row 2.

Change to your second colour.

Knit the first row.

Knit the second colour in seed stitch for 5cm.

Change to your third colour.

Follow the steps for the first colour (stockinette with 1×1 ribbing on the edges), but only knit until the work measures 25 cm.

Change to your fourth colour.

Knit in garter stitch for 20cm.

Change back to your first colour.

Follow the steps for the first colour (stockinette with 1×1 ribbing on the edges), but only knit until the work measures 10cm.

Change to your fifth colour.

Knit in garter stitch for 20cm.

(At this point some of my colours were curling, so I choose to block them in sections before I grafted the pieces together. Should you want to do this, you can use a spray bottle to target certain areas instead of soaking the entire piece. Of course, you can choose to block the entire thing as well!)

Using the kitchener stitch graft the ends together, weave in your loose ends, and you’re done!

Photos for this post are by Aaron Nathanson. To see the rest of the photos from this shoot
or to check out his other work, visit his flickr site and facebook page.