
Living in Hong Kong is definitely not the best thing for your knitting life. There’s really nothing about a semi-tropical climate that motivates you to pick up those needles, and so my poor little blog has been very quiet indeed.
Luckily, I now find myself in Canada, surrounded by seasons that blissfully mimic those in Japan. Fall is here in all her glory, and I’ve completed my first project in nearly a year!
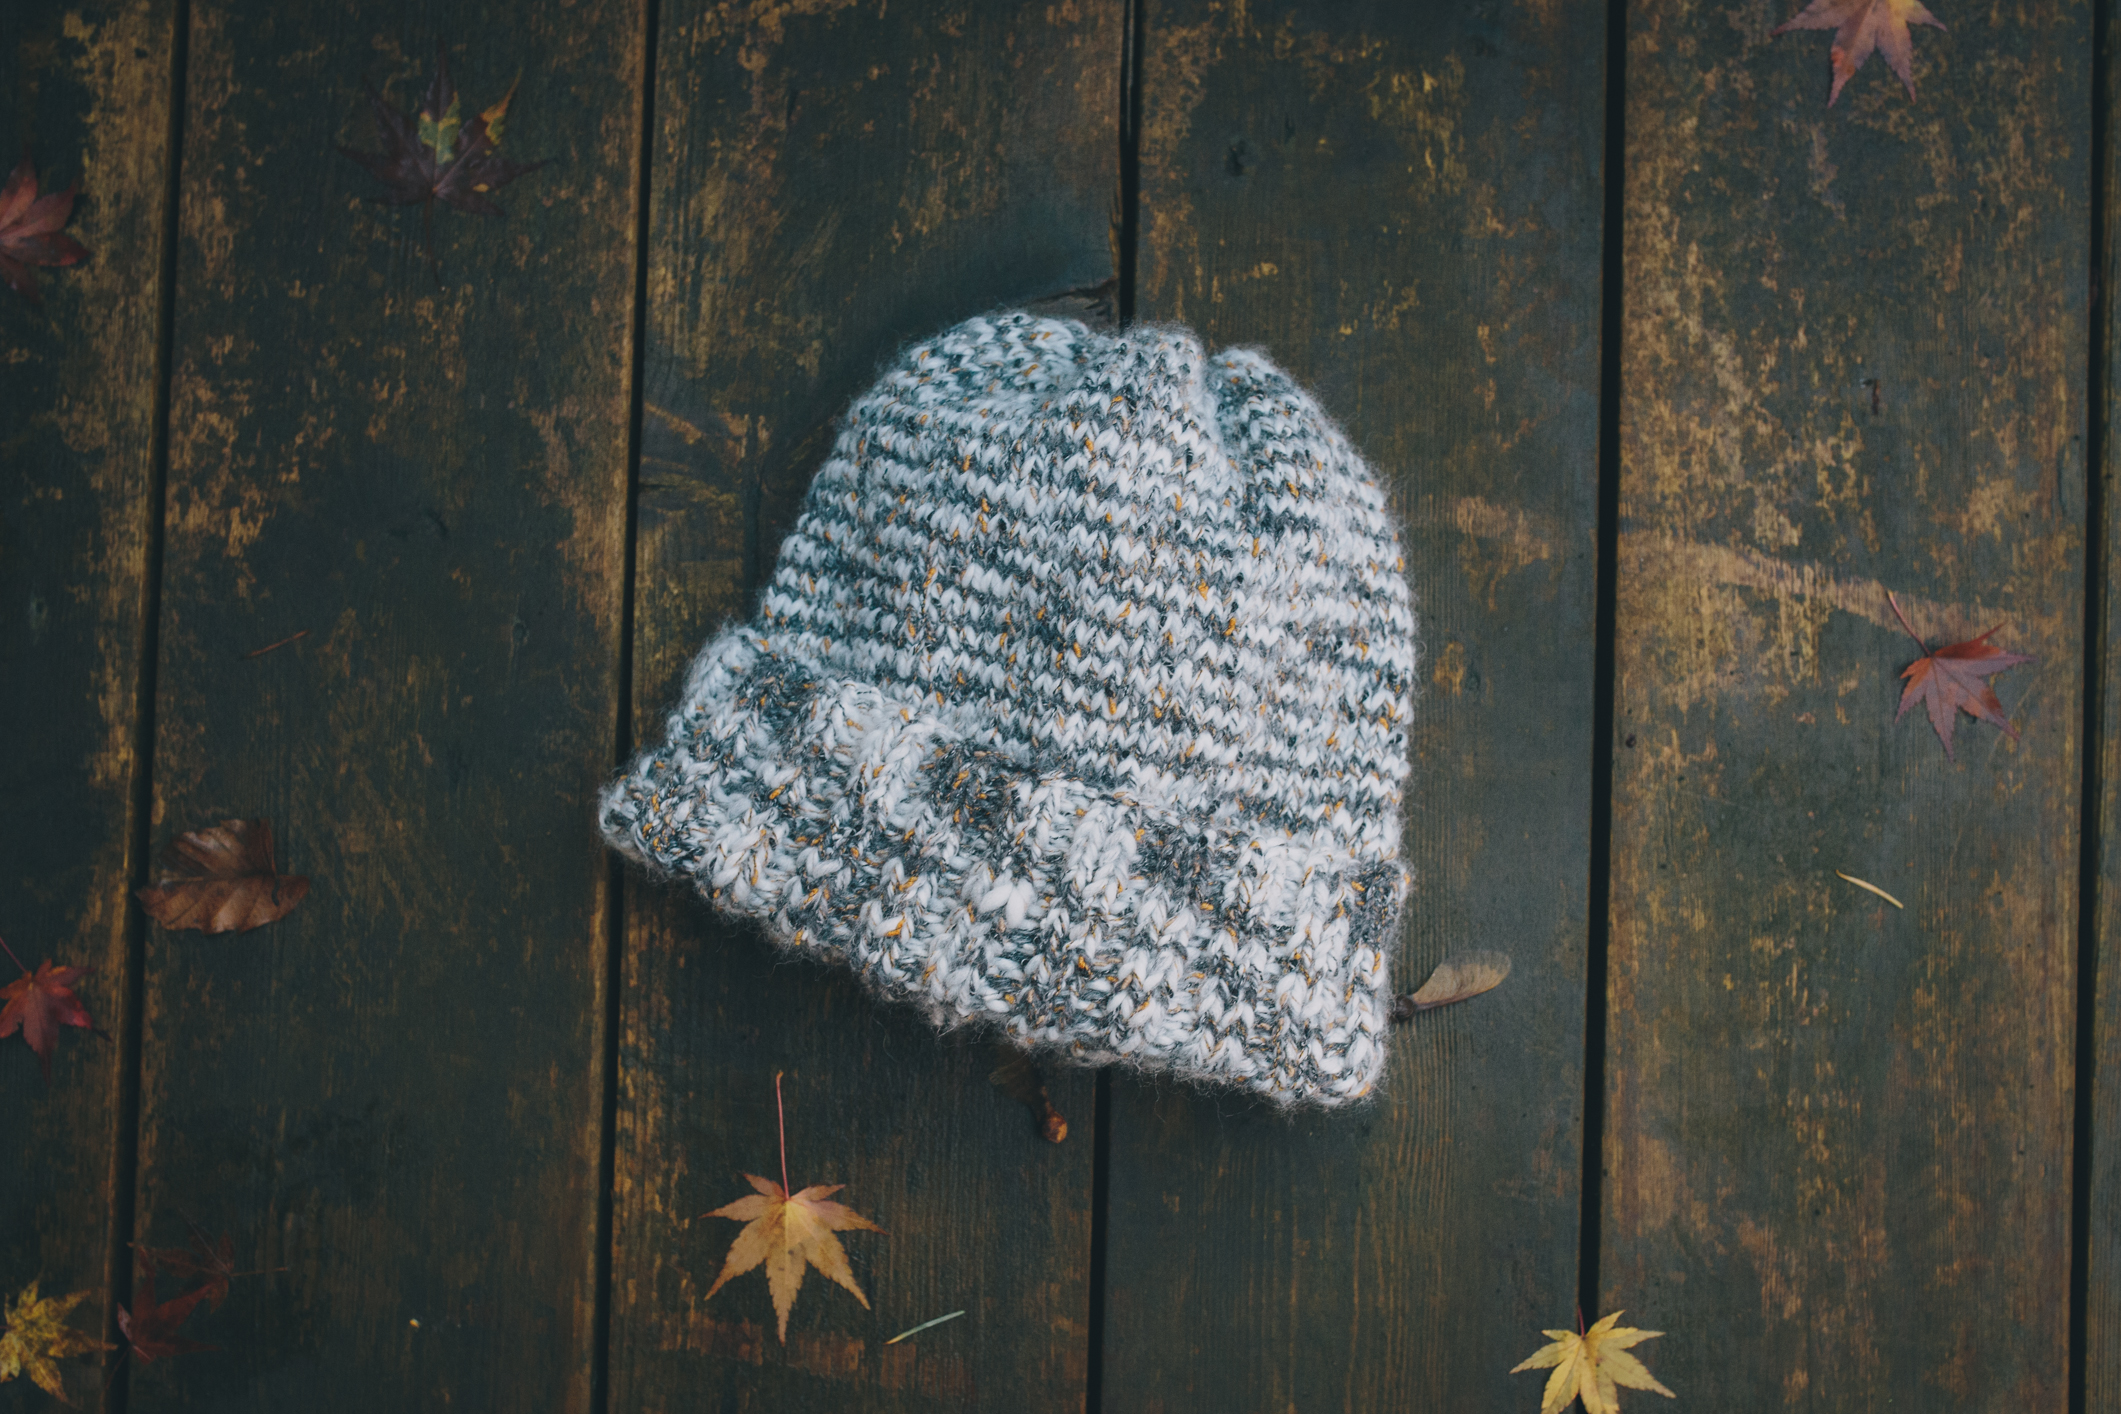
This hat was made using 2 skeins of Filatrua di Crosa’s Astro Tweed (colour 16). I bought this stuff when I was still in Fukui (hence the name I’ve given the hat). It’s a great Italian yarn that’s 64% wool, 20% polyamide, 16% acrylic, and machine washable. The yarn is also bulky weight, so the whole thing knit up really quickly. What I really love about this toque is how comfy, casual, and instantly gratifying it is; if those are things that interest you, be sure to check out the patten below!
P.S. Isn’t fall in Vancouver gorgeous?!


~ the pattern ~
This is definitely a unisex toque. It’s a little loose (but oh so cozy) on the average woman’s head, and it’s big enough for the average dude. The brim is simply worked in 2×2 ribbing and then folded up. The rest of the hat is just simple knitting and very basic decreases – easy peasy!
Gauge: 4.5 stitches per inch (2.5cm) in stockinette
Using 40cm circular needles, cast on 92 stitches, place a stitch marker, and join for knitting in the round.
Round 1: knit 2, purl 2, and repeat until you reach the end of the round.
Repeat Round 1 until the ribbed brim measures 14cm.
Knit every row until you have 10cm in stockinette stitch.
Next round: knit 2, knit 2 together, and repeat until the end of the round.
Knit the next 3 rounds.
Next round: knit 1, knit 2 together, and repeat until the end of the round.
Knit the next 2 rounds.
Next round: knit 2 together and repeat to the end of the round.
Cut the yarn (make sure you leave a long enough tail!) and thread it through the remaining stitches.
Double check to make sure you haven’t missed any stitches (I did this the first time… opps) and take the needles out. Using the tail pull the remaining stitches together, secure the tail, weave in your ends, and you’re done!
Photos by Aaron Nathanson


